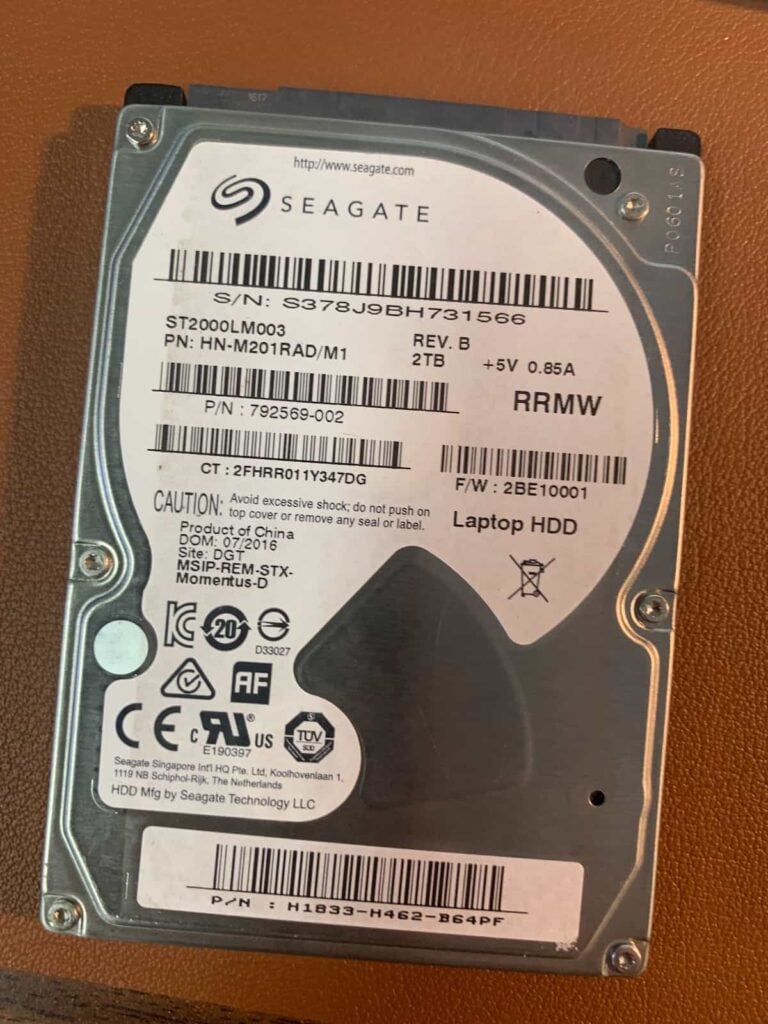
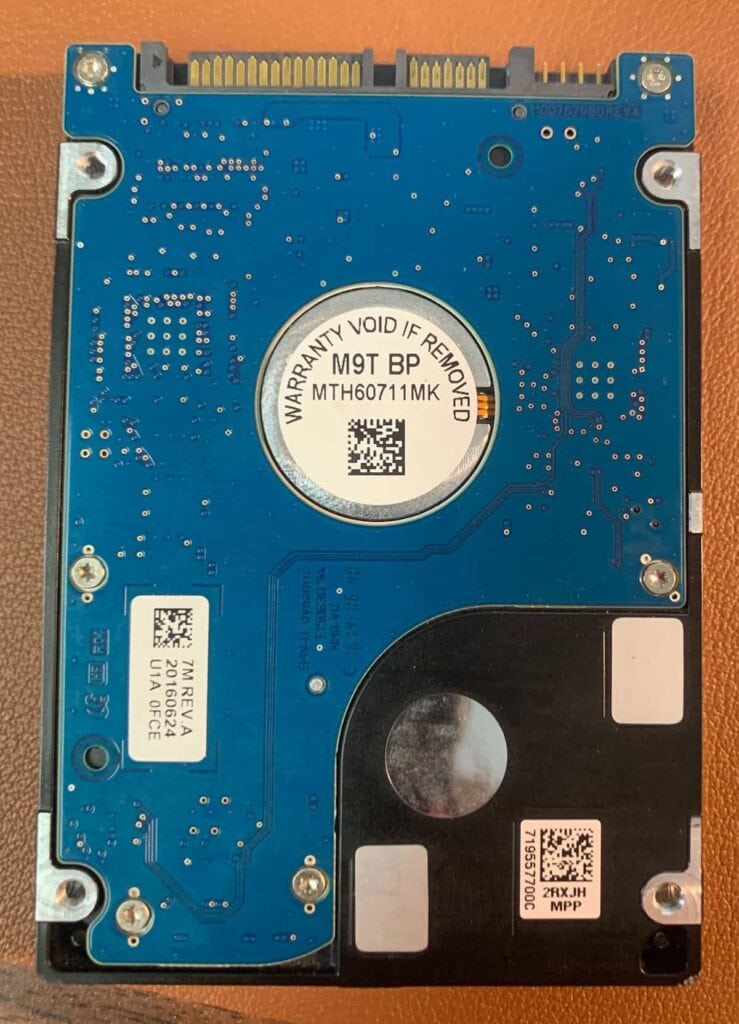
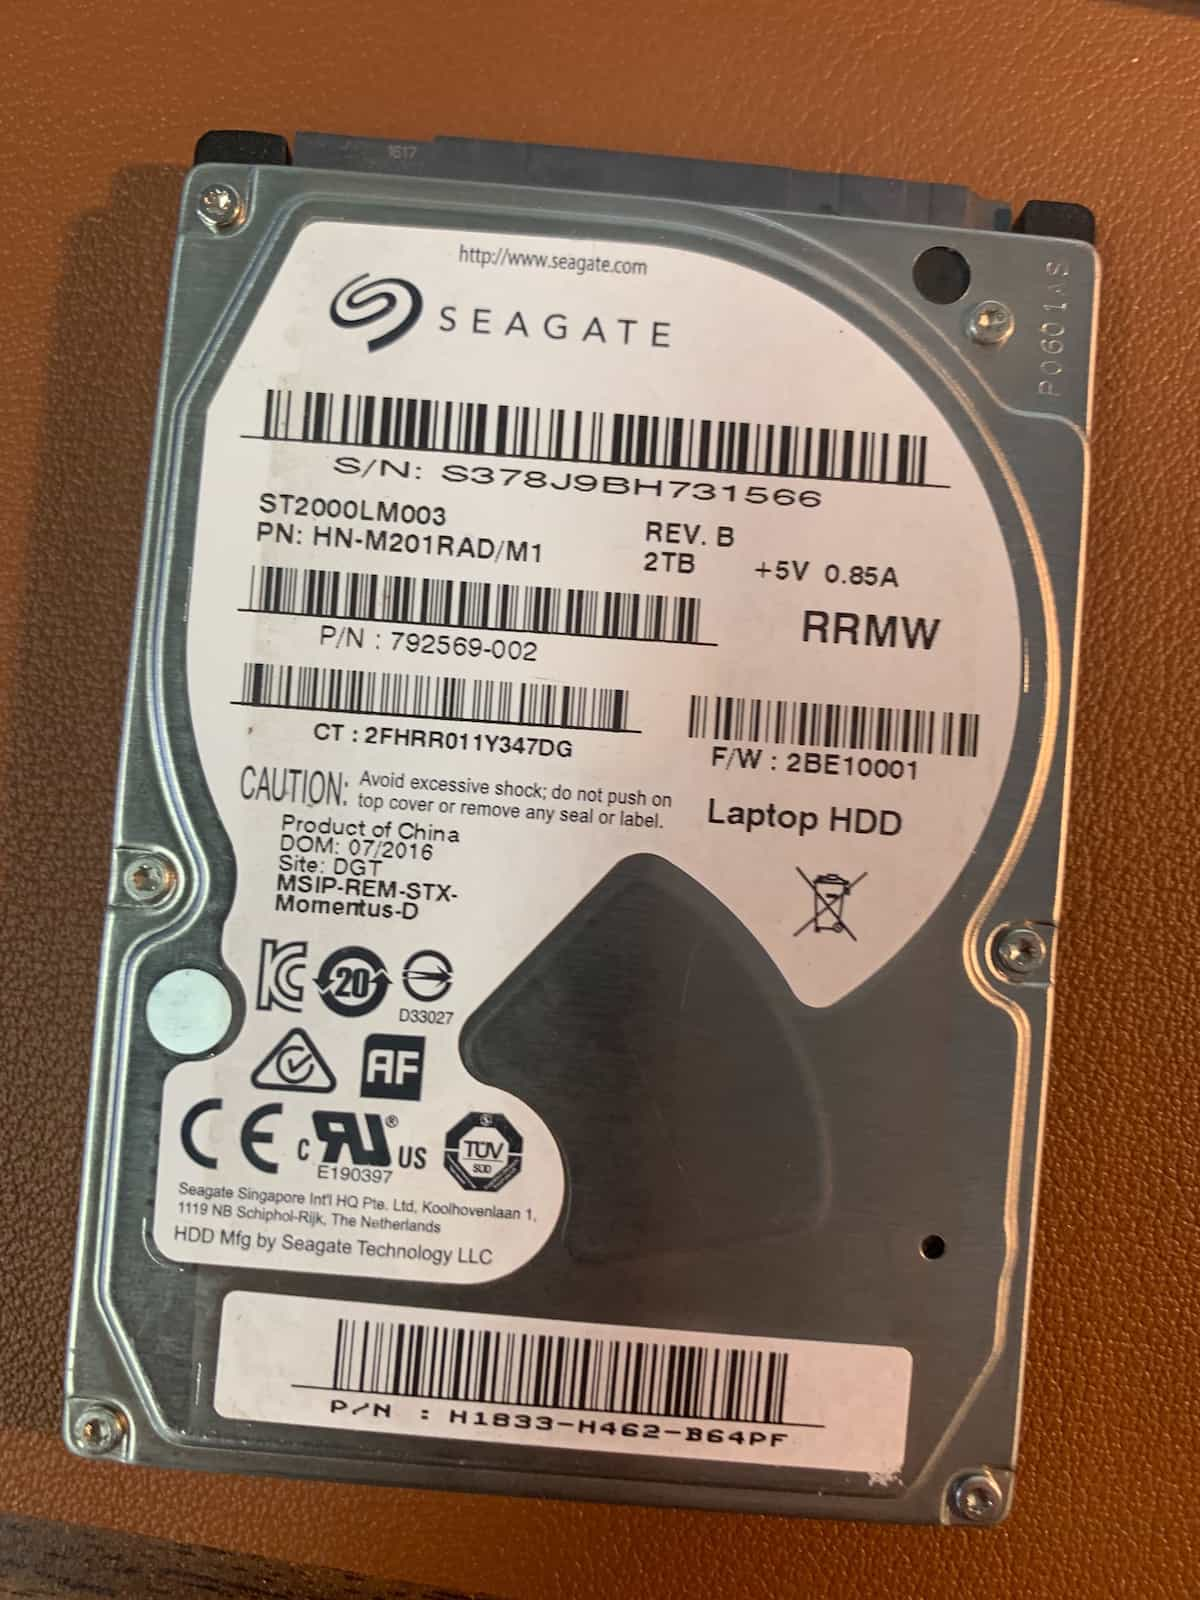
This Seagate ST2000LM003 model hard drive went to a local computer repair shop before it came to us with the issue description of hard drive not showing up. The drive was inside a laptop, and the laptop just stopped working without any drops or spills being involved. For those keeping score this is a Samsung drive branded as a Seagate. These 2TB laptop drives were popular for a while inside some Windows-based laptops.
Hard Drive Not Showing Up Data Recovery
The repair shop the customer brought their computer to took a look at the laptop and narrowed down the issue to the hard drive itself. While the hard drive was recognized by the computer, it would not mount when plugged into any computer they tried it on. They also tried running data recovery software on the drive but were not able to recover any usable files. The repair shop recommended the client bring the drive to us for data recovery as the data on the drive was quite important to the client.


ST2000LM003 diagnosis
This was a local client so they came by and dropped off their drive for our affordable recovery service. After completing the initial inspection, I found that this drive was working properly hardware wise. The heads tested good, I was able to access the data on the platters, and I was able to turn off everything I needed on the firmware to set up the drive for imaging. The next step was to image the drive.
Imaging the hard drive
Sometimes, the couple of features I turn off on the drive during the imaging pre-configuration end up being the problem that was causing the drive to not work, but in this case, because I had access to the sectors across the whole drive during testing, I was working under the assumption that this was going to be an issue with the data on the drive rather than the drive itself.
As I suspected, I was able to image 100% of the sectors from the drive on the first imaging pass. Now that the drive was imaged, I set the original drive aside and continued with the image for the next stage of the recovery.
Partition corruption recovery
The partition information was badly corrupted on this drive, so the next step after the imaging was to run recovery software to get the most usable data back as possible. The goal in cases like this is to get back as much folder structure and file names as possible, and then to also get back as much data as possible, even if that data is raw (without file names or folder structure).
I normally run at least two recovery programs on the data and then compare the results. In this case, the program UFS Explorer Pro was able to get the folder structure back and was by far the best option for recovery. This software is pretty expensive and has a bit of a learning curve, so a lot of computer repair shops don’t invest in it, but I love it! I ran a few of the other programs I like, but in this case, UFS Explorer Pro got back way more of the folder structure than any other program.
When I finished recovering all the data possible I moved it to the client’s new drive and alerted them it was ready for pickup. The client was very pleased to hear that I was able to get their important data back, with folder structure intact!
Do you need a drive recovered?
If you need help getting the data off your laptop, please fill out my free recovery quote form and I will get back to you right away. Or you can give me a call at (620) 615-6836.
Drive info: Seagate ST2000LM003 SEAGATE HN-M201RAD/M1 F/W: 2BE10001 2TB drive

