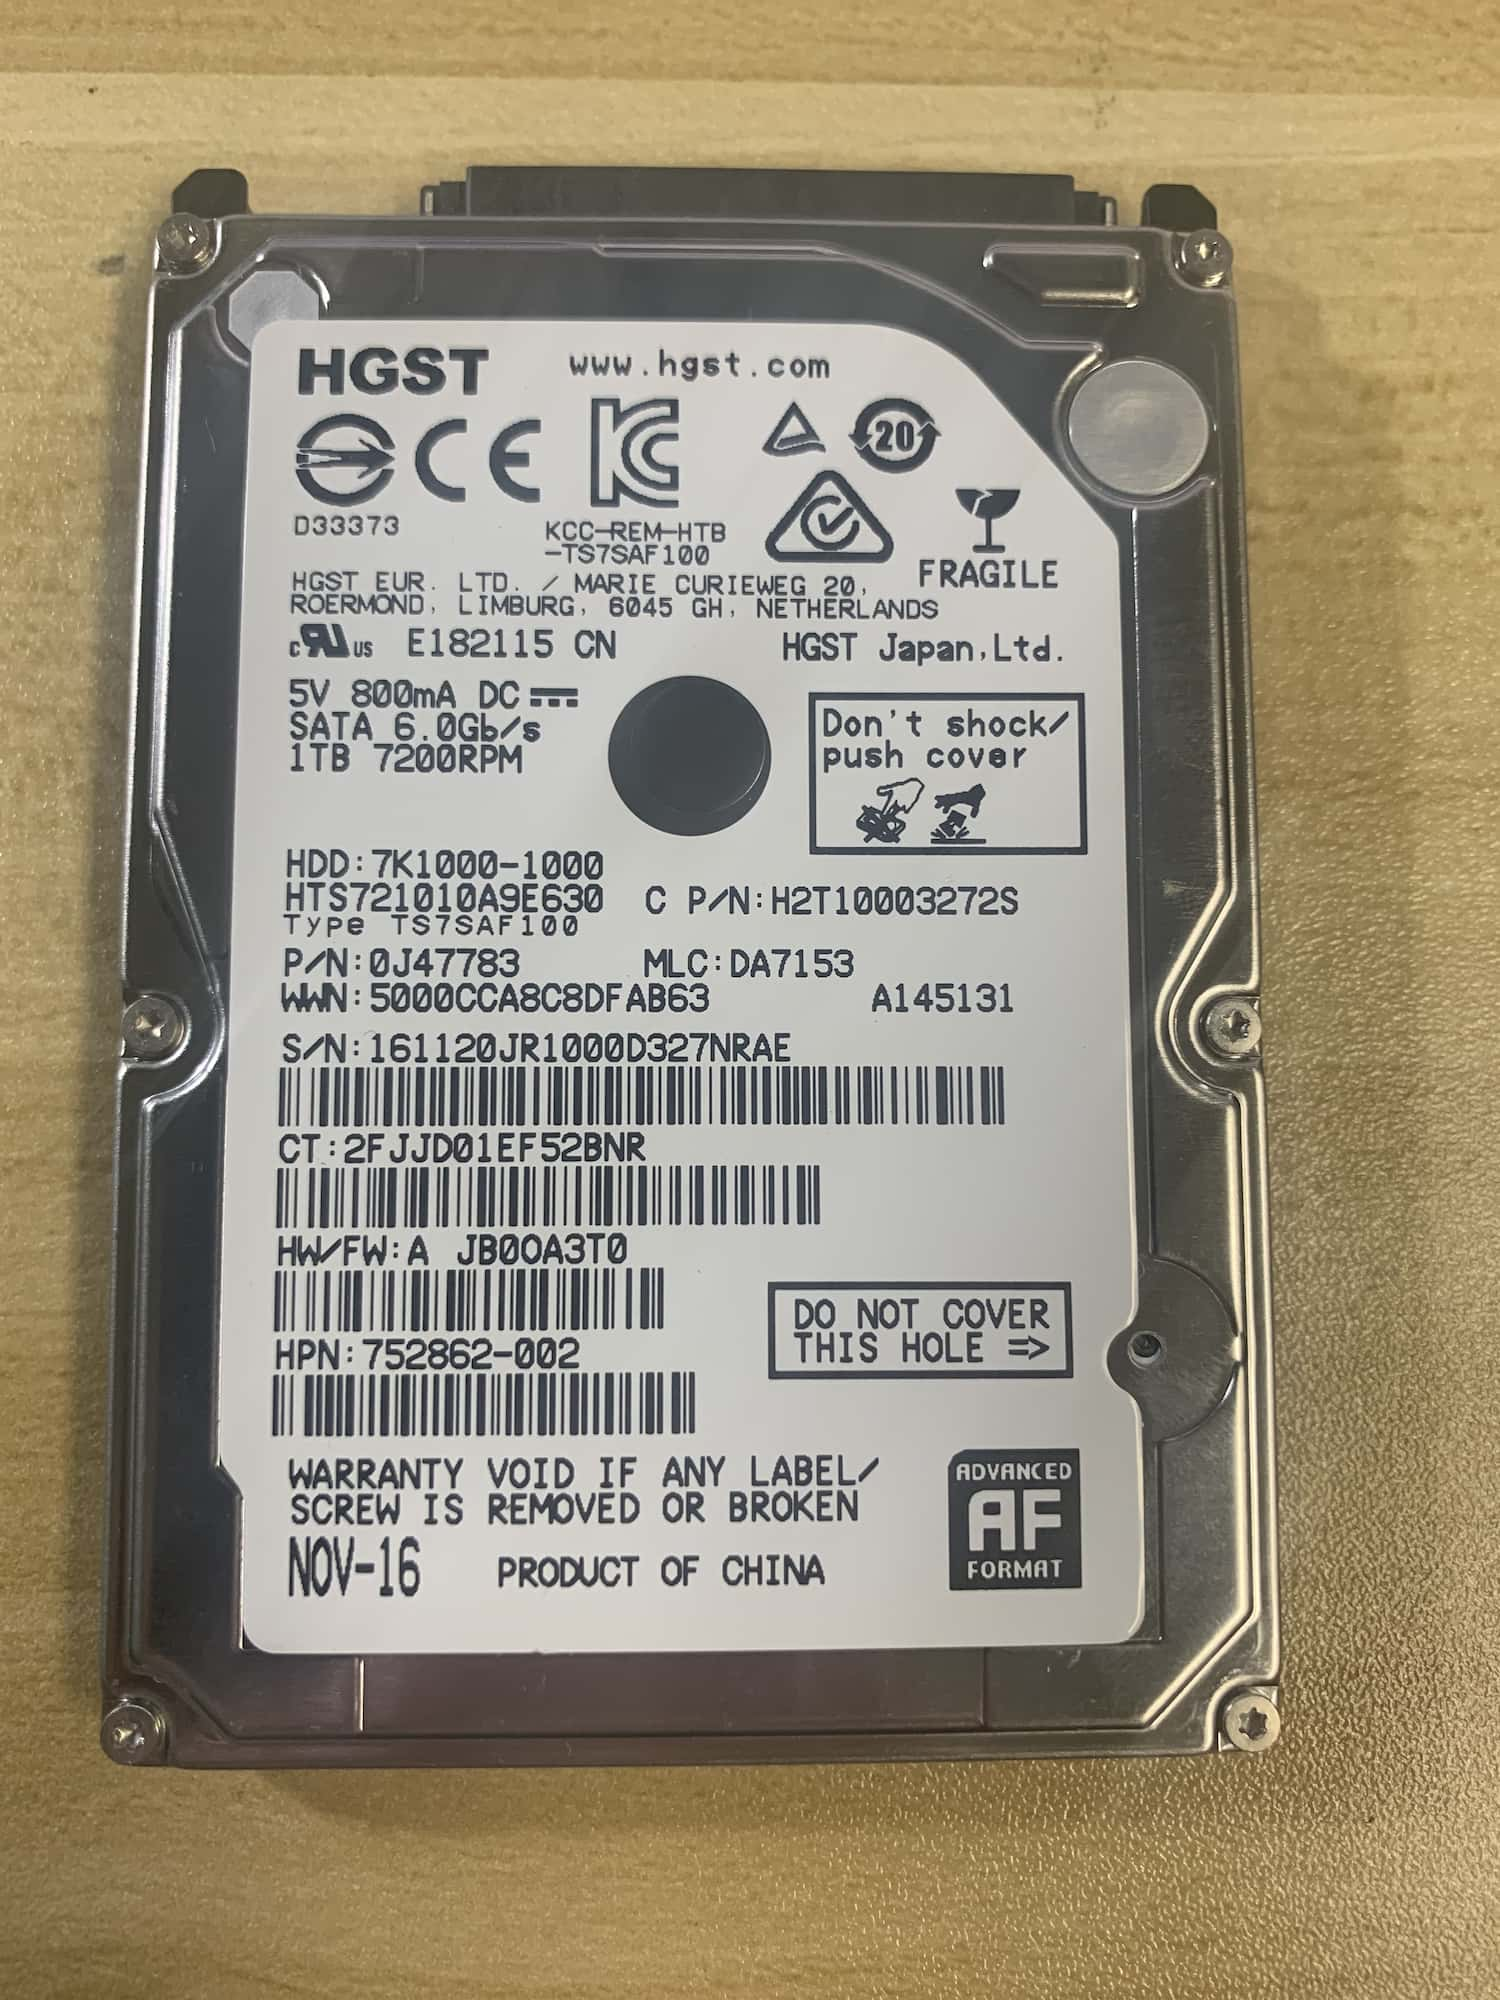
HTS721010A9E630 Hard Drive
This recovery was on a liquid-damaged HTS721010A9E630 hard drive from HGST. It is a 2.5-inch budget drive frequently found in Laptops. HGST was acquired from Hitachi by Western Digital back in 2012, so these are Western Digital drives.
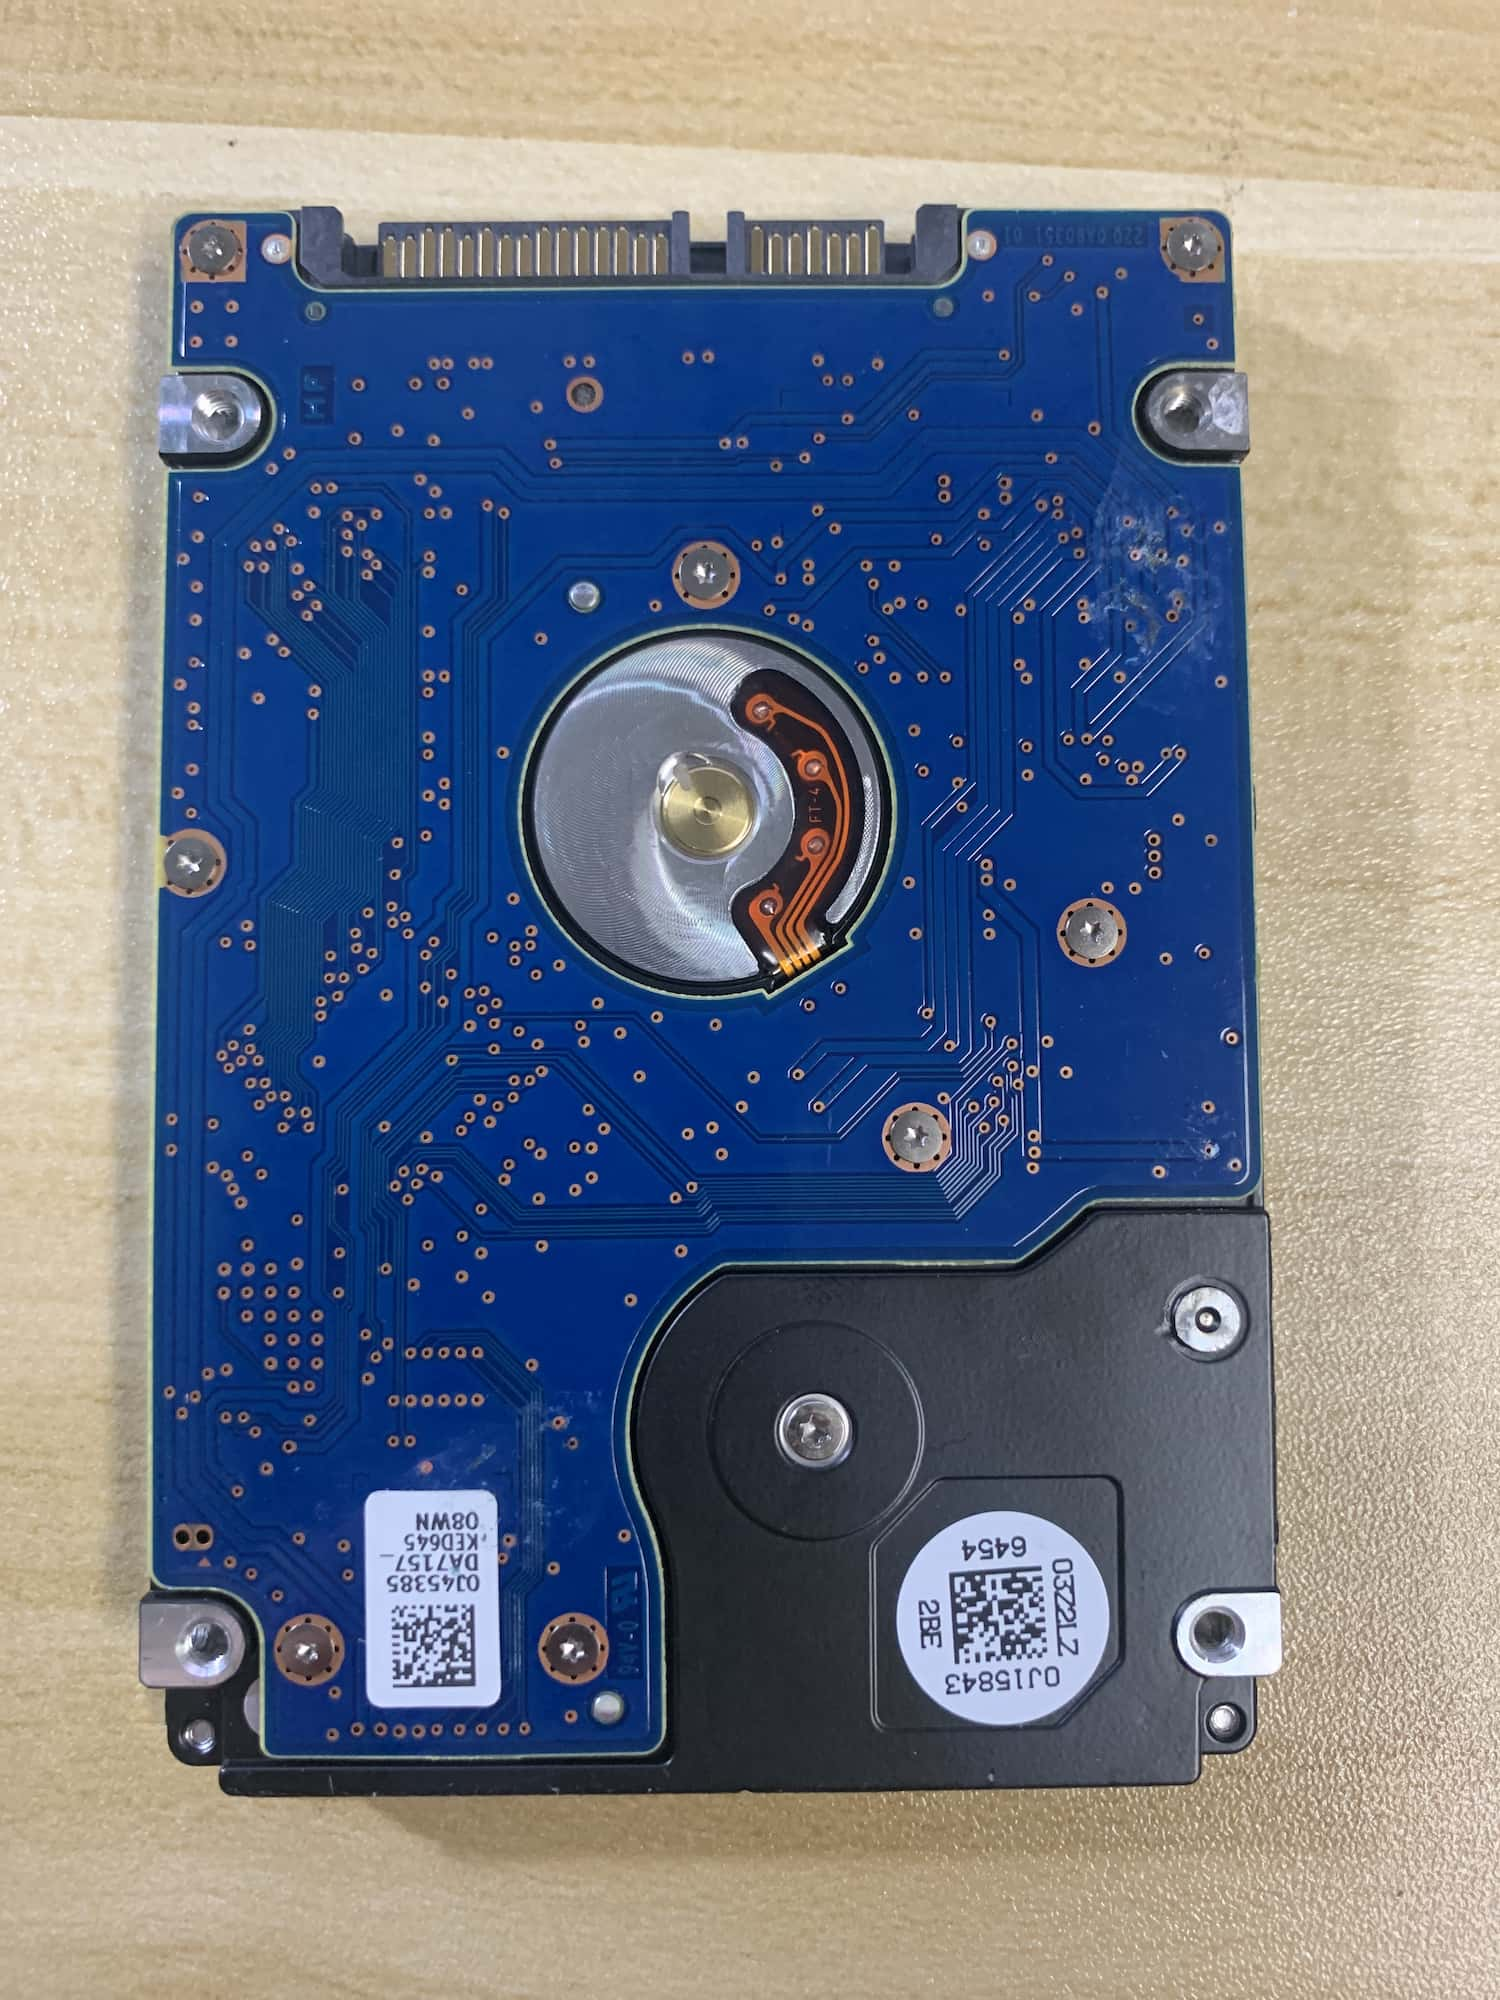
Liquid Damage On PCB
This particular drive came into us after the client had brought their liquid-damaged laptop to a repair shop for repair. The repair shop found that the hard drive was not responding on any of their computers, so they recommended the client take the drive to us for recovery.
The data on the drive was especially important because the computer was used for QuickBooks. As any small business owner will tell you, QuickBooks files are very important.
Data Recovery Steps For Liquid Damage
I don’t see a lot of liquid-damaged drives, but the steps for recovery are usually pretty straightforward. The first step is to open the drive up in a clean room environment to see if any of the liquid entered the drive itself.
As with most liquid-damaged cases where the computer sustains liquid damage, this drive had no signs of liquid being inside the casing. The only times water seems to enter the drive itself is when it has been in a flood or submerged completely in water for a time.
Once it was confirmed that the liquid had not entered the drive, the next step was to swap out the PCB completely. There was corrosion present on the PCB, so you want to swap that out before continuing. Some recovery shops might attempt to repair the PCB itself instead of swapping it, but I prefer to swap it out to cover all bases from the start.
I had a PCB in stock for this model, so I went ahead and moved the NVRAM over to the donor drive and connected the drive up to my PC-3000 to diagnose the drive itself.
The drive got ready and all heads passed testing. The firmware looked good as well, but I went ahead and configured it for imaging by turning off anything that could cause issues during the imaging process if there was another issue with the drive.


Imaging HTS721010A9E630 Steps
I always start imaging a drive using settings that will skip over any problem areas as soon as they are found. This way you can get as much of the drive imaged as possible and cause the least amount of stress. After the first pass, you go back and start making the imaging passes more and more intense to get back as much data as possible.
This method can take longer than just running a single pass style setting, but it is best to play it safe on every drive.
This particular drive had no bad areas, so I was able to recover 100% of the sectors on the drive.
Data Transfer Steps
Once all the sectors were recovered, I moved over to the software side of the data recovery. In this case, there was no corruption in the data, so a scan brought back all folder structure and file names.
I was able to locate all the important data that the client needed and moved it over to a new drive. The client was very pleased to not have to recreate the files from scratch!
Cost and Turnaround Time
This recovery fell under our Standard+ pricing tier. Our affordable recovery pricing is a welcome relief for our clients from the quotes they receive from the big recovery companies.
The total time for this recovery from start to finish was 4 days. We pride ourselves in our quick turnaround even with our standard service, but we also have a priority service available if you need your data back as quickly as possible.
HTS721010A9E630 Recovery Service
If you have an HTS721010A9E630 hard drive that you need the data recovered from, I would be very pleased to provide the data recovery service! You can contact us to get a quote or fill out our quick quote form. If you are ready to start the process of getting your data back, fill out our recovery form to start the process.
Thanks for reading!
Drive info: HGST HDD: 7K1000-1000, HTS721010A9E630, P/N: 0J47783, MLC: DA7153, WWN: 5000CCA8C8DFAB63, HW/FW: A JB0OA3T0, HPN: 752862-002, NOV-16, Product Of China
