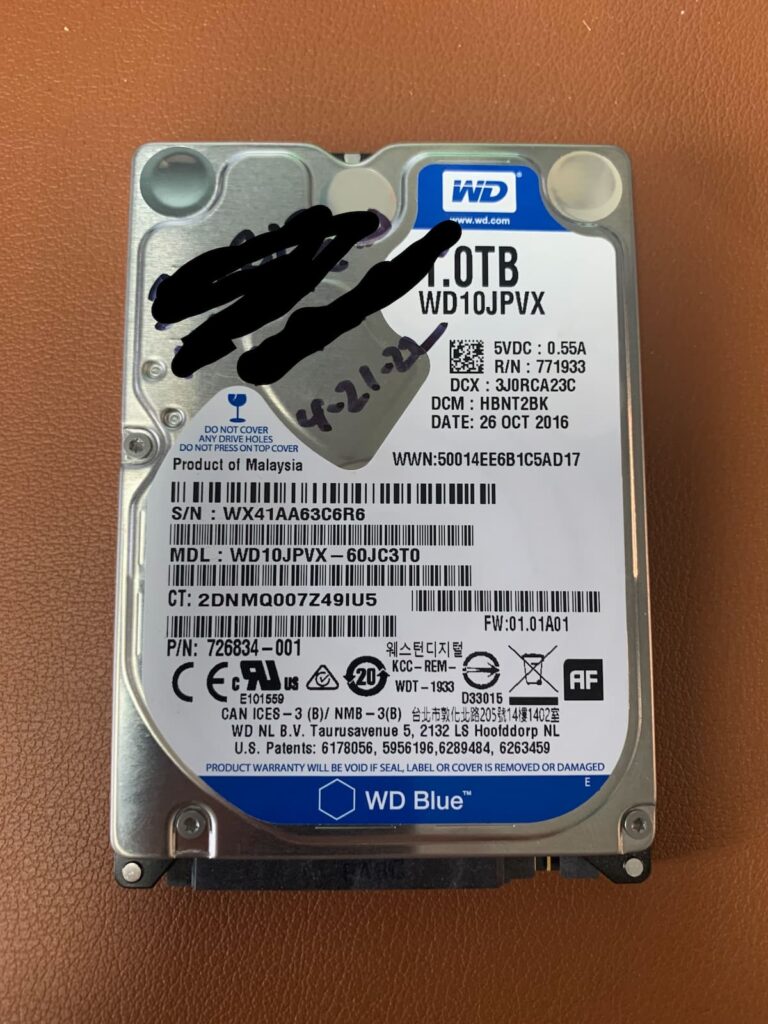
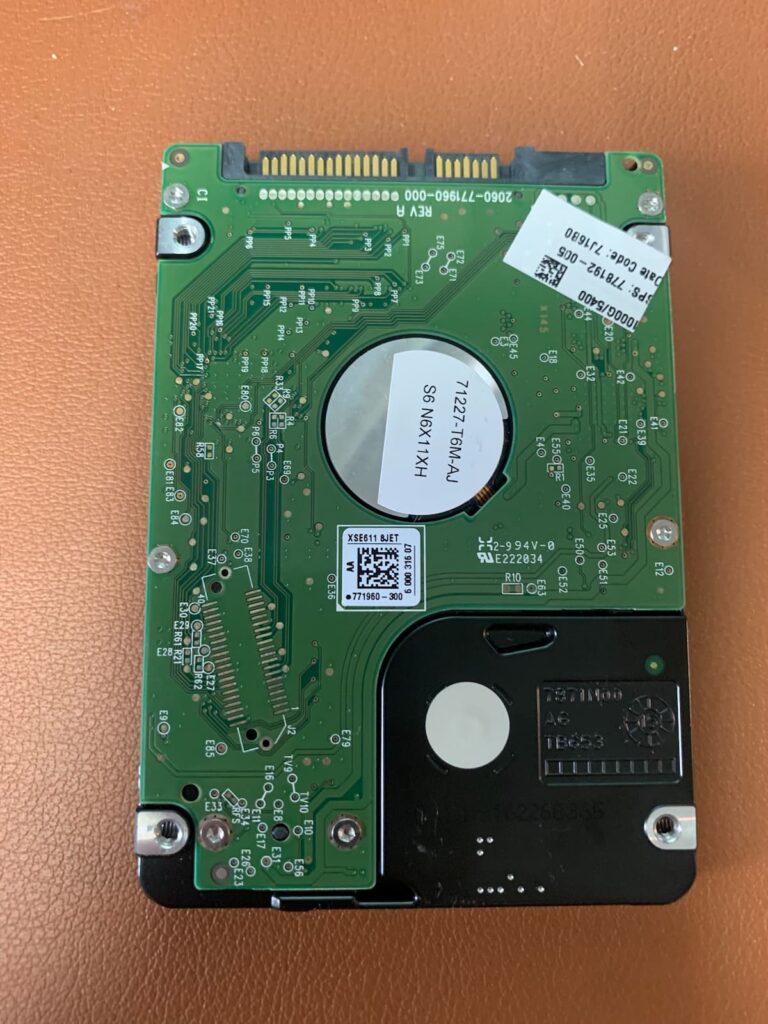
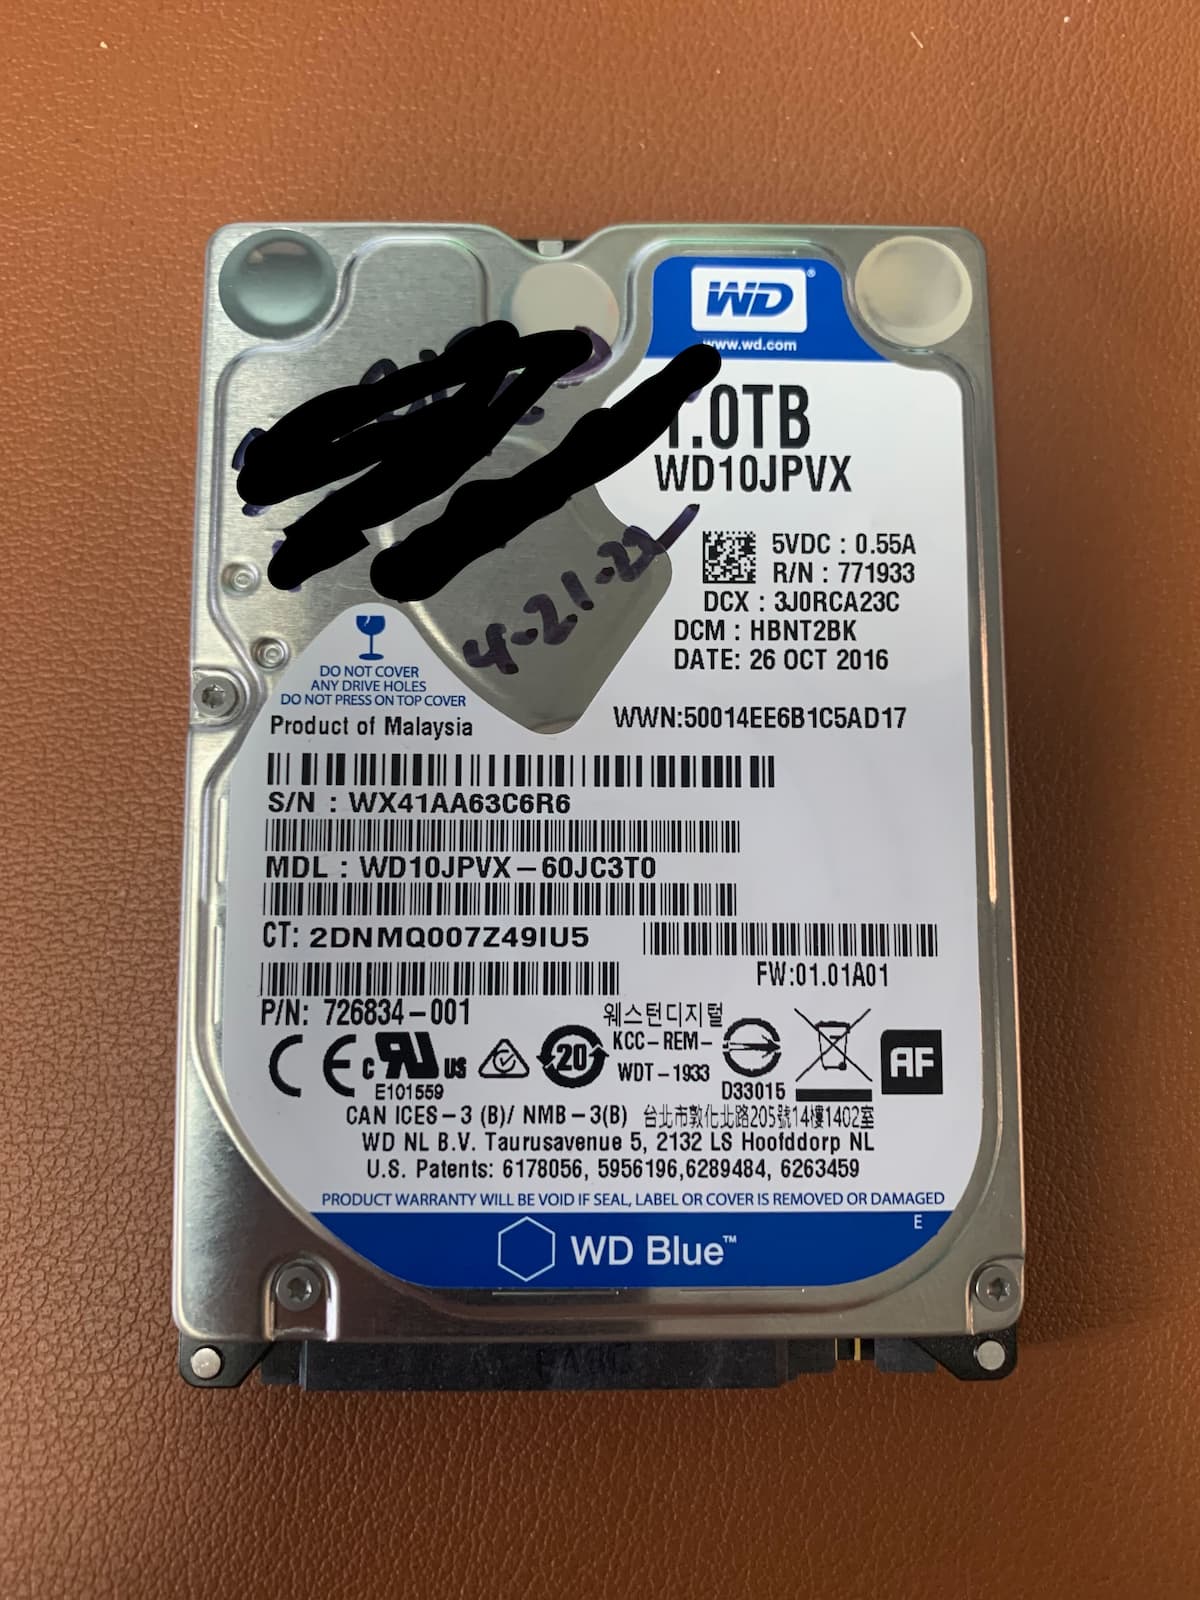
This WD10JPVX Western Digital hard drive came from inside an external enclosure. The client had used it to store their important photos and some sermons, so when it stopped working they knew they needed a professional data recovery service to help.
The client first brought the hard drive to a computer repair shop that also advertises data recovery services. This is one of the computer repair shops we work with to help with the recoveries when they aren’t able to complete them. In this case, they were not able to get the WD10JPVX drive to work at all with the recovery equipment they had.
The shop recommended the client discuss the case with me to see if it was a drive I would be able to recover. After discussing the drive I told the client it was likely we would be able to recover it. The drive wasn’t making any weird noises and had not been dropped. It had also started acting slow and erratic before it stopped working altogether.
WD10JPVX Diagnosis
Once I had the drive in my possession, I started with a visual diagnosis. Everything about the drive looked great, so I continued onto the PC-3000 to diagnose it further.
The hard drive did get ready and ID’d right away, which is a great first sign. But it was very slow. The heads tested good, but all heads hit areas of bad sectors during the testing. After verifying the firmware was working properly, I set the drive up to start the imaging process.


Imaging the Western Digital drive
Imaging the WD10JPVX hard drive allows us to make a clone of the bad drive onto a good drive. Once that clone is complete, then we are able to run software-based recovery on the good drive to get back all the data possible.
In this case, the hard drive was very slow with lots of bad sectors. I set the first pass to skip over the bad parts and just get the easy stuff. Once that first pass had been completed we had about 80% of the drive imaged.
Now I started making each subsequent pass more and more difficult on the drive in order to get back more and more of the sectors I was not able to get in the last passes. Over the course of three days, I was able to get over 99% of the hard drive’s sectors cloned over to the good drive.
Recovering the data
Once I was sure I had as much data as I could possibly get from the bad WD10JPVX hard drive, I moved on to recover the files from the clone. This recovery process went really smoothly with all the file names being intact. All folder structure was intact as well, so the recovered data looked exactly as it had before the drive failed.
I found the important documents and photos that the client wanted right where they were supposed to be, and was able to open them and verify the information was good.
Affordable data recovery
This WD10JPVX data recovery was covered under our Standard recovery tier. This means it came in under our lowest recovery tier which is very affordable, especially when considering what the big recovery companies charge for the same project. This client likely saved over a thousand dollars by bringing the drive to us.
The client was very pleased with the results and appreciated being able to save a lot of money over what they would have been charged elsewhere.
If you have a drive that needs data recovery, please consider sending it to me for my data recovery service. You can contact me with any questions, get a quick recovery quote by filling out my quote form, or start the recovery process by filling out my recovery form.
Thank you for reading!
Drive info: MDL: 2TB Western Digital WD10JPVX-60JC3T0, WD10JPVX IU CB500, WWN: 50014EE2BE5DF379, 01 MAR 2021, Made in Thailand,

